By Marone: February 2020 | last update: March 2020
Install and run keycloak
Goal
In this article we will learn how to install, run and setup keycloak standalone server with a minimal settingUsed technologies
Keycloak 8.0.1JDK 11
Windows 8
What is Keycloak
Keycloak is an open source identity and access management solutionDownload and run Keycloak
There is multiple posiblities to download keycloak, in this aritcle we will get keycloak from githubAfter unzip the file you can easily run a standalone server, for demo purposes it will be fine. Open a terminal and go to your unzipped file and from the folder bin just run: To avoid port conflicts we will shift all the ports with value 10
-Djboss.socket.binding.port-offset=10. The HTTP port will be 8090
The first time you call http://localhost:8090/auth/ from browser, we will be asked to create an admin user

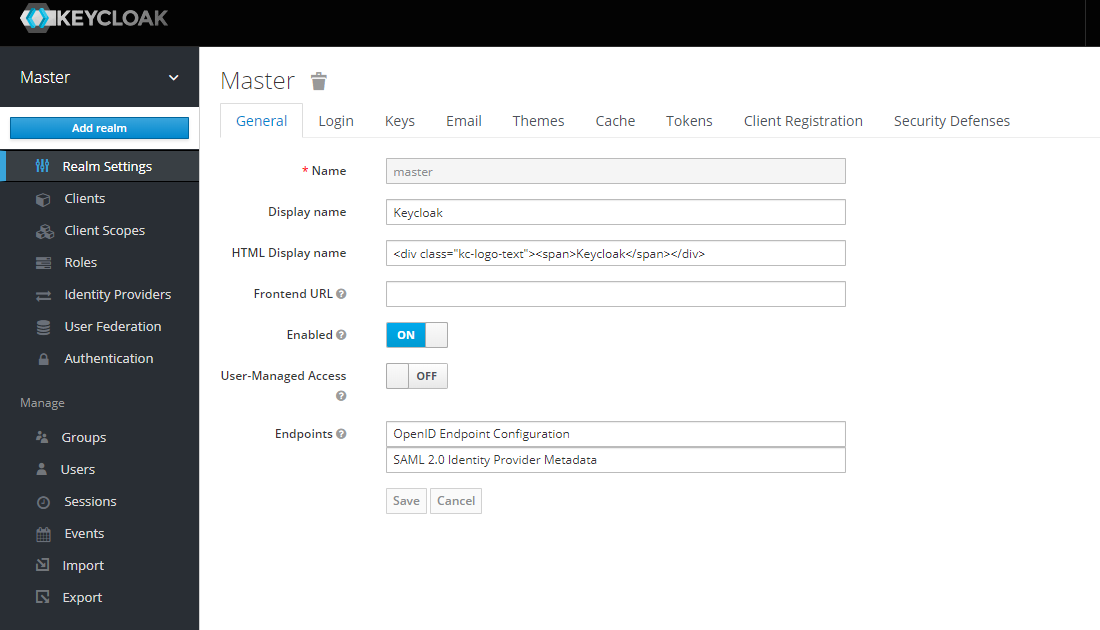
After that you can open http://localhost:8090/auth/admin and log in

Creating Realm
A realm manages a set of users, credentials, roles, and groups. A user belongs to and logs into a realm. Realms are isolated from one another and can only manage and authenticate the users that they controlNow hit "Add Button"
 We choose wstutorial as Realm name and click "create"
Creating client
Inside a Realm we can define a client which means an application that should be secured by Keycloak, a Spring Boot API, a Web Application etc.
As
Client Id we choose demo-app. After hitting Save button we will be forwarded to a new screen. there we can use the default settings
In the field
Valid Redirect URIs we set asterisk and we save
Creating User
To create a user click onUsers in the left menu bar. Now on the right side you click the Add User button
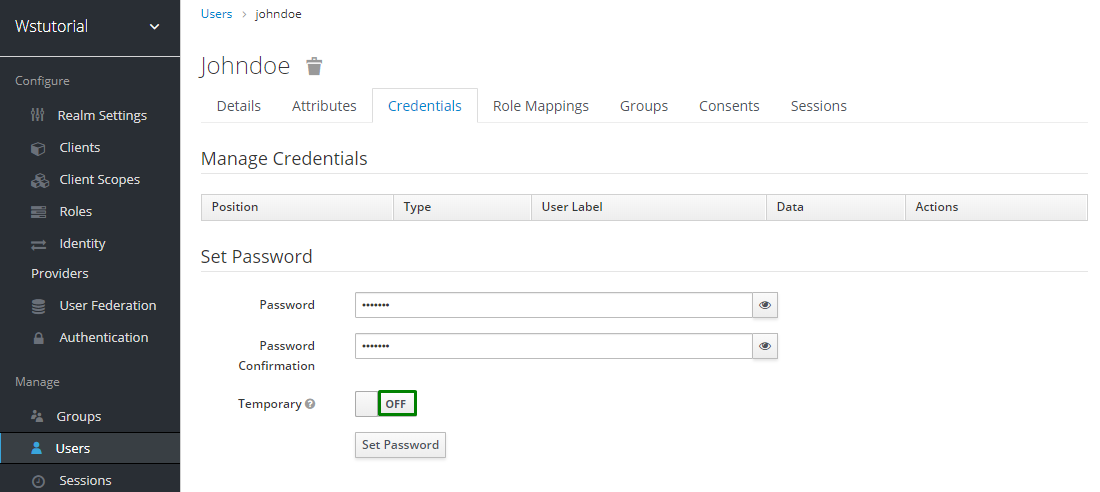
Just spicify a Username and click save. A new page will appear, now you have to go to the
Credentials tab
 After specifying a password we switch Temporary off and clik Set Password twice